One of the classic time-wasting games that lots of people have fond memories of is Minesweeper; particularly the Microsoft version. Since it was included in Windows 3.1, it was one of those games that you could always count on when you might have access to an unfamiliar PC. Although, I have a personal confession: I always played Solitaire or Hearts, rather than Minesweeper. I never took the time to really learn how to play the game! Nevertheless, Minesweeper is a classic example of a grid-based game, and one that is a great candidate for making yourself.
As far as the rules go, the game is actually pretty simple. You’ve got a grid, with randomly placed “mines.” The mines are hidden by an overlay. Clicking one of the hidden grid cells will reveal what’s underneath. If it’s a mine, you lose. If it’s a number, that means there are that many mines in the eight neighboring spaces. If it’s blank, then all neighboring blank spaces are revealed. The gist is to try to reveal the game state by logically using the clues.
Making a version of Minesweeper with Waffle uses two grid “layers.” The first grid is what’s actually displayed to the player – basically storing which “unknown” spaces have been clicked. The second grid stores the location of the mines and hints. For a simple 5x5 game board, the following is a representation of what the mines grid would look like.
[1][1][1][ ][ ]
[1][*][2][ ][ ]
[1][2][*][1][ ]
[ ][1][1][2][1]
[ ][ ][ ][1][*]
We’ll start by making a 10x10 version of the game; increasing the board size can be left as an exercise for the reader. The first step is to download Waffle and open up main.css. We’ll go ahead and add CSS classes for the various objects that we plan to use in the game. You can create your own images, or download some pre-made ones.
#grid {
  /* ... */

-  .highlight {
-    background-color: blueviolet;
-  }

+ .unknown { background-image: url('images/unknown.png'); }
+ .flag { background-image: url('images/flag.png'); }
+ .mine { background-image: url('images/mine.png'); }
+ .empty { background-image: url('images/empty.png'); }
+ .one { background-image: url('images/one.png'); }
+ .two { background-image: url('images/two.png'); }
+ .three { background-image: url('images/three.png'); }
+ .four { background-image: url('images/four.png'); }
+ .five { background-image: url('images/five.png'); }
+ .six { background-image: url('images/six.png'); }
}
Now that these CSS classes have been defined, we can set the value of a grid cell to five (for example), and have the associated image file show up in the right place. So what we’ll do now is set up the two grids for the game, the “visual” grid (to show the current state of the game) and the “data” grid (holds locations of mines and hints).
Open up the game.js file in your favorite editor. It has some boilerplate that initializes Waffle with a certain number of rows and columns. We can set up the data grid after the call to Waffle.init; we’ll copy the 10x10 grid used by the visual grid, and overwrite its values. Start by randomly placing some mines in the grid, and write the value mine to the appropriate grid index. This code chooses a random point in the grid, and tries to put a mine there. If that point already has something in it, we loop until we find an empty space. Add lines with a + in front of them, delete lines prefixed with a -.
Waffle.init(rows, columns);
+
+ const mines = Waffle.state;
+ const mineCount = 10;
+
+ // randomly place the mines
+ for (let i = 0; i < mineCount; i += 1) {
+   let p = Waffle.randomPoint;
+
+   while (!Waffle.isEmpty(mines[p.x][p.y])) {
+     p = Waffle.randomPoint;
+   }
+
+   mines[p.x][p.y] = 'mine';
+ }
Now that the mines have been placed, we can generate the numeric hints. If an open space has any mines next to it, we count them up and put that number in the space. They’ll let the player logically deduce where the mines are.
  // mine placement code redacted
  mines[p.x][p.y] = 'mine';
}
+
+ for (let y = 0; y < rows; y += 1) {
+   for (let x = 0; x < columns; x += 1) {
+
+     // Skip cells that contain mines
+     if (mines[x][y] === 'mine') {
+       continue;
+     }
+
+     // Find the number of mines contained in neighboring cells
+     const includeDiagonals = true;
+     const count = Waffle.getNeighbors({ x, y }, includeDiagonals)     // 8 surrounding cells
+                         .filter(({ x, y }) => mines[x][y] === 'mine') // keep the cells that have mines
+                         .length;                                      // count them
+
+     // unlikely to be more than 6 neighboring mines
+     const hints = ['empty', 'one', 'two', 'three', 'four', 'five', 'six'];
+
+     // now we can store the hint string; aka how many mines surround the square
+     mines[x][y] = hints[count];
+   }
+ }
The mine grid is now complete. Next we’ll set up the visual grid — when the game first starts, no mines have been revealed yet, so all the squares displayed to the player can be marked as unknown.
// hint placement code redacted
mines[x][y] = hints[count];
}
}
+
+ // initialize the visual grid with `unknown`
+ Waffle.fill('unknown');
+
+ // uncomment below to see the "data" grid
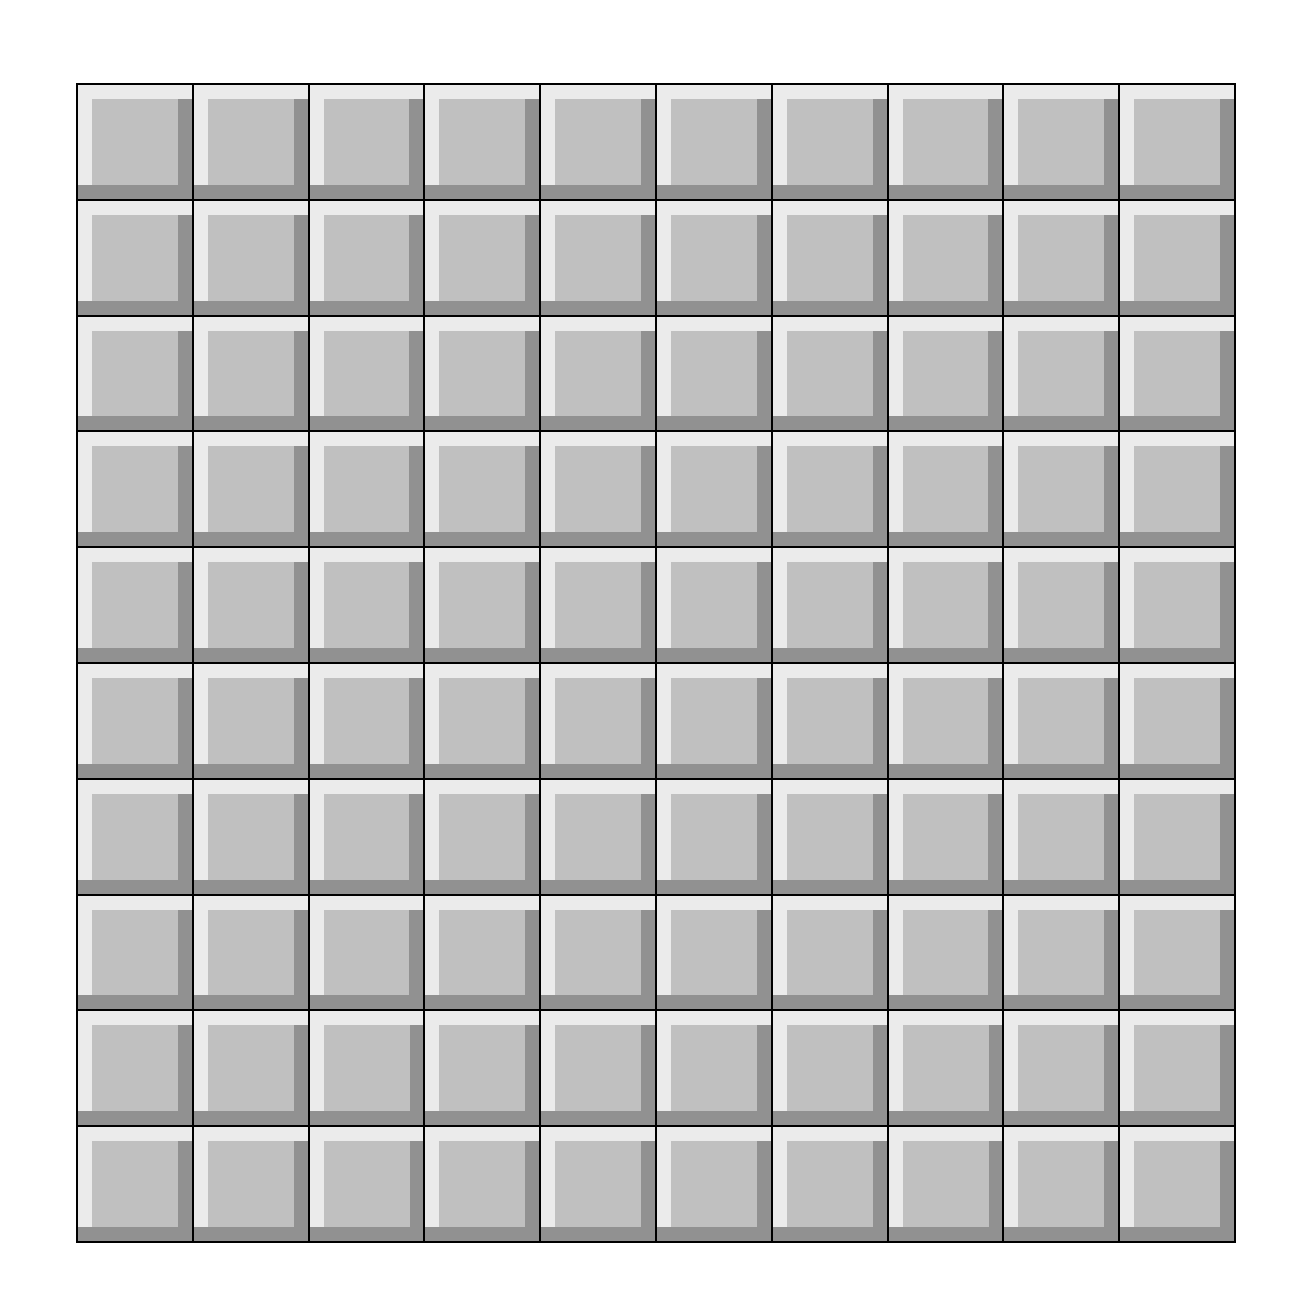
+ // Waffle.state = mines;The game state has now been completely initialized. Load index.html in your browser (File → Open File → index.html), and you should see a 10x10 grid with each cell filled with the unknown graphic.
Next we need to handle user input. To do that we’ll replace the code in the Waffle.onPointDown handler that runs whenever the player taps or clicks the grid. The first check we can make is if the player clicked a mine. We do that by checking the {x, y} coordinates of the mines data grid.
Waffle.onPointDown(({ x, y }, { primary, secondary }) => {
- console.log(`${secondary ? 'right' : 'left'}-clicked cell (${x}, ${y})`);
- /* replace this with your own code! */
const state = Waffle.state;
- if (Waffle.isEmpty(state[x][y])) {
- state[x][y] = 'highlight';
- } else {
- state[x][y] = '';
- }
+ if (mines[x][y] === 'mine') {
+ // show that the player clicked a mine
+ state[x][y] = 'mine';
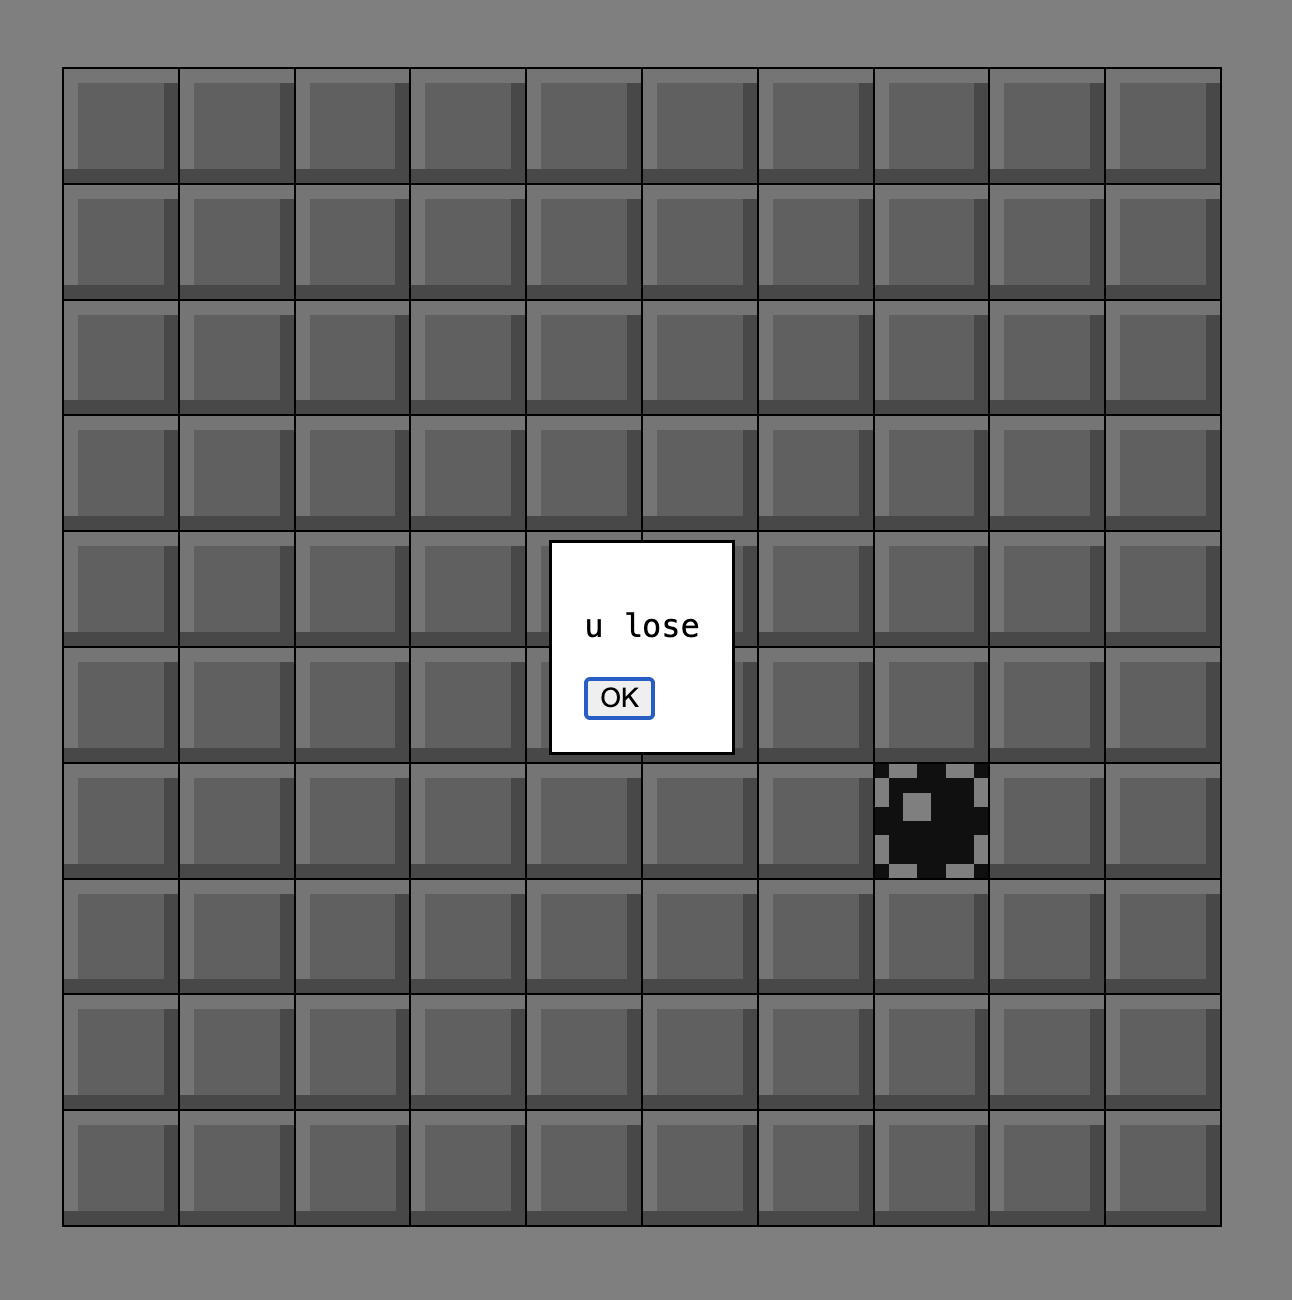
+ Waffle.alert('u lose');
+ }
Waffle.state = state;
});If you reload the page and click around, you’ll eventually find a mine and trigger the “game over” message.
This version isn’t much fun, since all you can do is eventually lose. The next step is to reveal empty cells, or cells that contain a hint. There are various ways we could implement this functionality, but one fun way is to use a recursive function. The function reveals a cell, then if that cell is empty will try to reveal the 8 surrounding cells by calling the same function again. The base case is when the cell contains a hint; then we stop. This function uses a JavaScript feature which allows us to modify the state value in place, without having to return it.
const reveal = ({x, y}, state) => {
  // if this space has already been revealed, then stop
  if (state[x][y] !== 'unknown') {
    return;
  }

  // reveal using whatever value is in the "mines" data grid
  state[x][y] = mines[x][y];

  // if this cell is a hint, then stop
  if (state[x][y] !== 'empty') {
    return;
  }

  // otherwise, since the cell is empty, we check
  // all 8 neighbors for more empty cells
  const includeDiagonals = true;
  Waffle.getNeighbors({ x, y }, includeDiagonals).forEach(neighbor => {
    reveal(neighbor, state);
  });
};
Add this function at the bottom of game.js. Using it is dead simple.
Waffle.onPointDown(({ x, y }, { primary, secondary }) => {
const state = Waffle.state;
if (mines[x][y] === 'mine') {
// show that the player clicked a mine
state[x][y] = 'mine';
Waffle.alert('u lose');
}
+ reveal({x, y}, state);
Waffle.state = state;
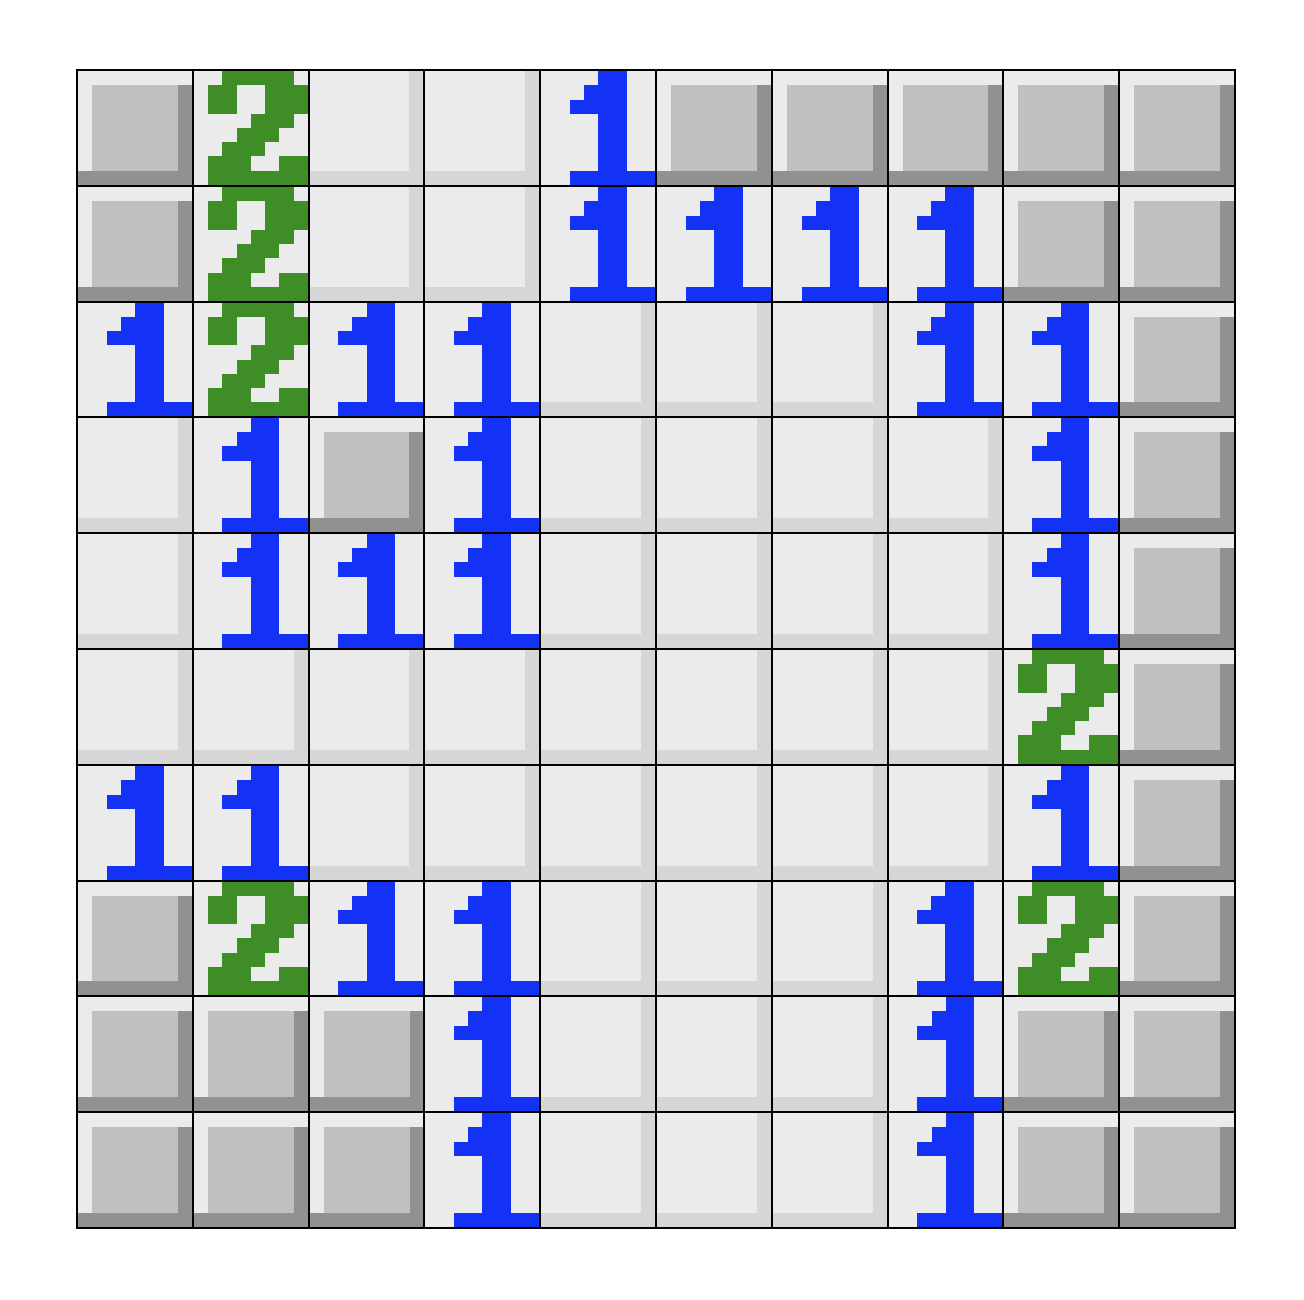
});The effect when revealing large parts of the grid is so cool. This lets us complete a level by revealing all the safe cells, and leaving the mines.
It’d be nice to have some validation of all our hard work, though. Let’s add a function that checks if we’ve won the game. A win condition is when the only unknown cells in the grid are covering mines. To check for this, we can loop through each cell and check both the visual grid and the data grid. If the cell in the visual grid is unknown and the cell in the data grid isn’t a mine, that means we haven’t won yet.
const hasWonGame = () => {
  const state = Waffle.state;

  // search through state for "unknown" cells;
  for (let x = 0; x < Waffle.columns; x += 1) {
    for (let y = 0; y < Waffle.rows; y += 1) {
      // if cell is "unknown" and not a mine, that means it can still be revealed
      if (state[x][y] === 'unknown' && mines[x][y] !== 'mine') {
        return false;
      }
    }
  }

  return true;
};
We can then call this function after every click/tap.
Waffle.onPointDown(({ x, y }, { primary, secondary }) => {
const state = Waffle.state;
if (mines[x][y] === 'mine') {
// show that the player clicked a mine
state[x][y] = 'mine';
Waffle.alert('u lose');
}
reveal({x, y}, state);
Waffle.state = state;
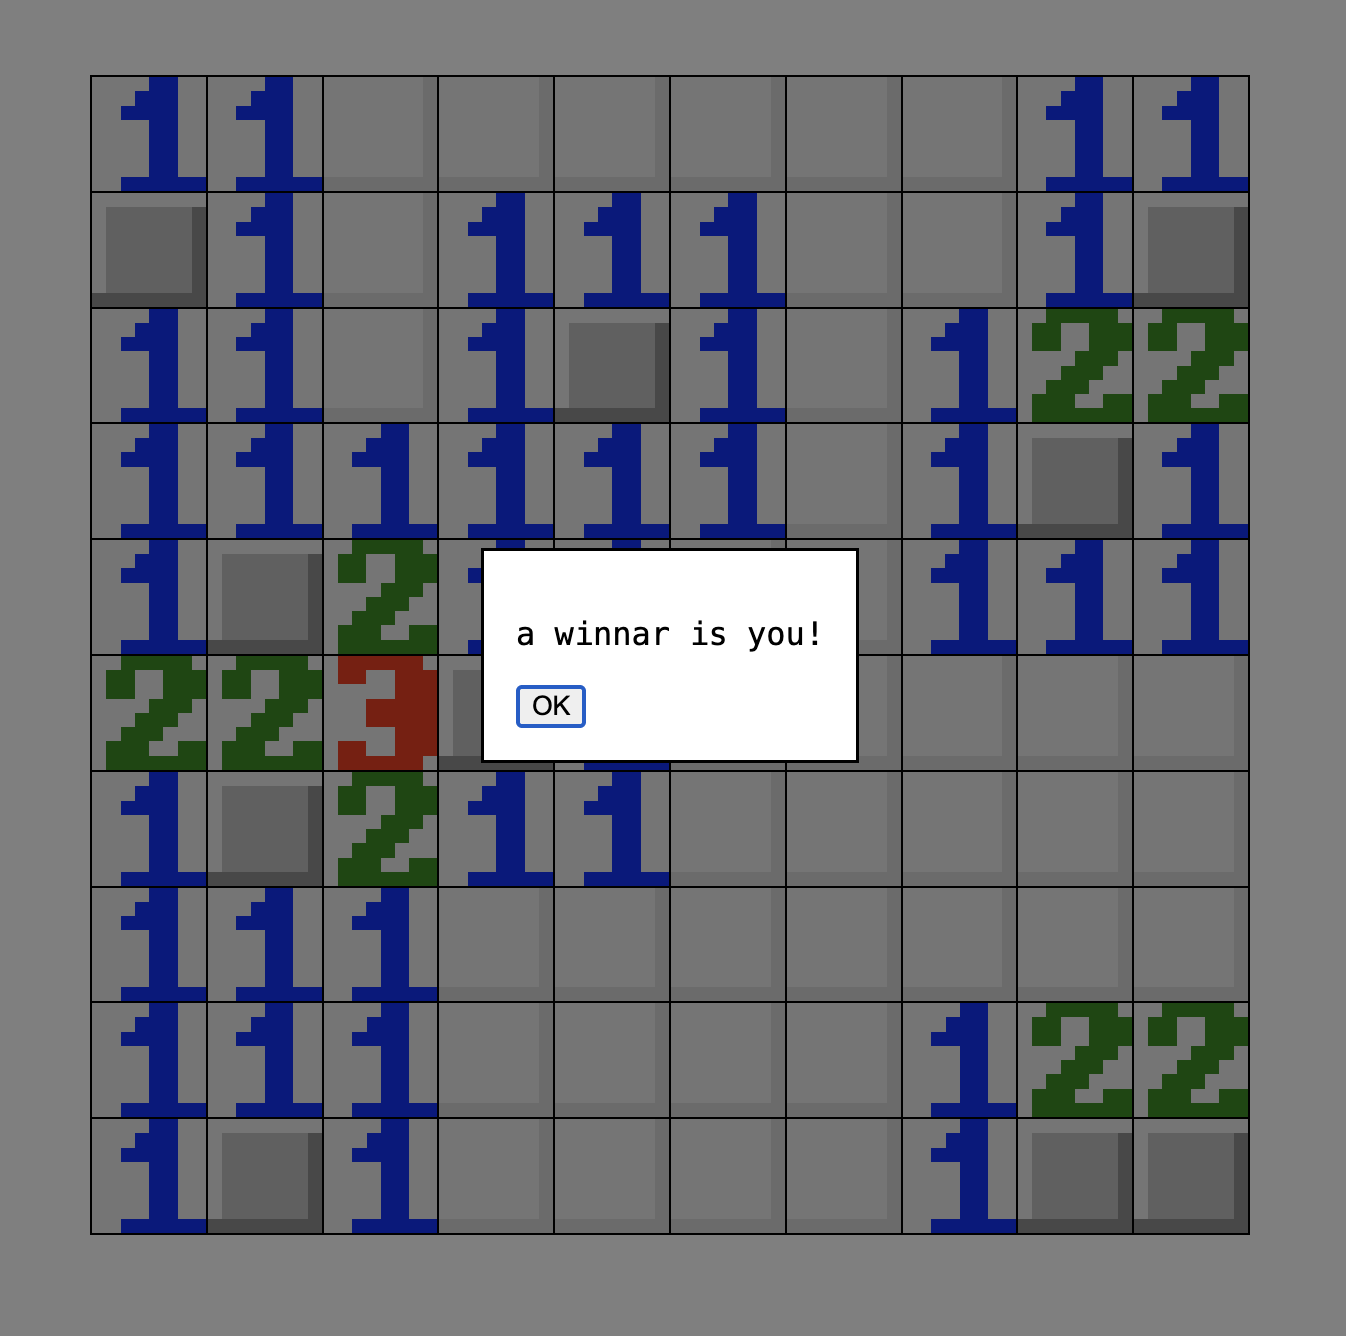
+ if (hasWonGame()) {
+ Waffle.alert('a winnar is you!');
+ }
});
The game is 100% playable at this point, but one last important feature is the ability to add markers, or “flags,” to help indicate where mines are. In the classic desktop game, these are placed/removed by a click of the right mouse button. We’ll go ahead and implement that feature here, and leave a touch-only/mobile implementation to the reader.
Waffle’s built-in onPointDown helper will pass a button object as the second argument whenever the player clicks (not really applicable for touches, though). We can use that to check if the player right-clicks.
Waffle.onPointDown(({ x, y }, { primary, secondary }) => {
  const state = Waffle.state;

+ // toggle flags with the secondary mouse button
+ if (secondary) {
+   if (state[x][y] === 'flag') {
+     state[x][y] = 'unknown';
+   } else if (state[x][y] === 'unknown') {
+     state[x][y] = 'flag';
+   }
+
+   Waffle.state = state;
+   return;
+ }
+
+ // do nothing if left click on flag
+ if (state[x][y] === 'flag') {
+   return;
+ }

  if (mines[x][y] === 'mine') {
    // show that the player clicked a mine
    state[x][y] = 'mine';
    Waffle.alert('u lose');
  }

  reveal({x, y}, state);

  Waffle.state = state;

  if (hasWonGame()) {
    Waffle.alert('a winnar is you!');
  }
});
Congrats! You now have a fully-functional Minesweeper game. Upload all the files to someplace like Neocities and show your friends!
Extra Credit
Add a feature that lets the player select a harder difficulty, which both increases the grid size and the number of mines. One way you might do this is to use URLSearchParams.
const params = new URLSearchParams(window.location.search);
// now if you add `?difficulty=easy` to the URL, the string `easy` is accessible via `params.difficulty`